


Staple food of Japan
I never thought I’d be eating so much rice. I mean I went from no rice, to rice all the time. Not that I mind rice but you know how it is. It’s like going to the same job everyday and not wanting to go back the next. It’s like taking that same bus over and over again with that same guy sitting across from you not knowing what he’s thinking, and he just stares. It’s like, well you get the idea. I kid though, it’s not that bad. Rice, among others, is a staple food in Japanese cuisine. It has to be expected that ones Japanese wife would be eating Japanese rice daily. And to clarify, I don’t mean morning noon and night or anything but everyday at least with one meal.
Eating Japanese rice daily for me wasn’t that big of a deal to start doing. I’ve always enjoyed many asian dishes, in which of course in many other asian counties, rice is also a staple food. If not in direct rice form then in some other prepared fashion such as rice noodles. One of which is my all time favorite Vietnamese Rice vermicelli with grilled pork and fried egg noodles. Another is the all time classic Thailand Pad Thai made with wider flat rice noodles. Pad Thai is great with a different assortment of meats. The last one that comes to mind is Chinese Chow Fun with wider stickier noodles. Holy crap I am making myself hungry now.
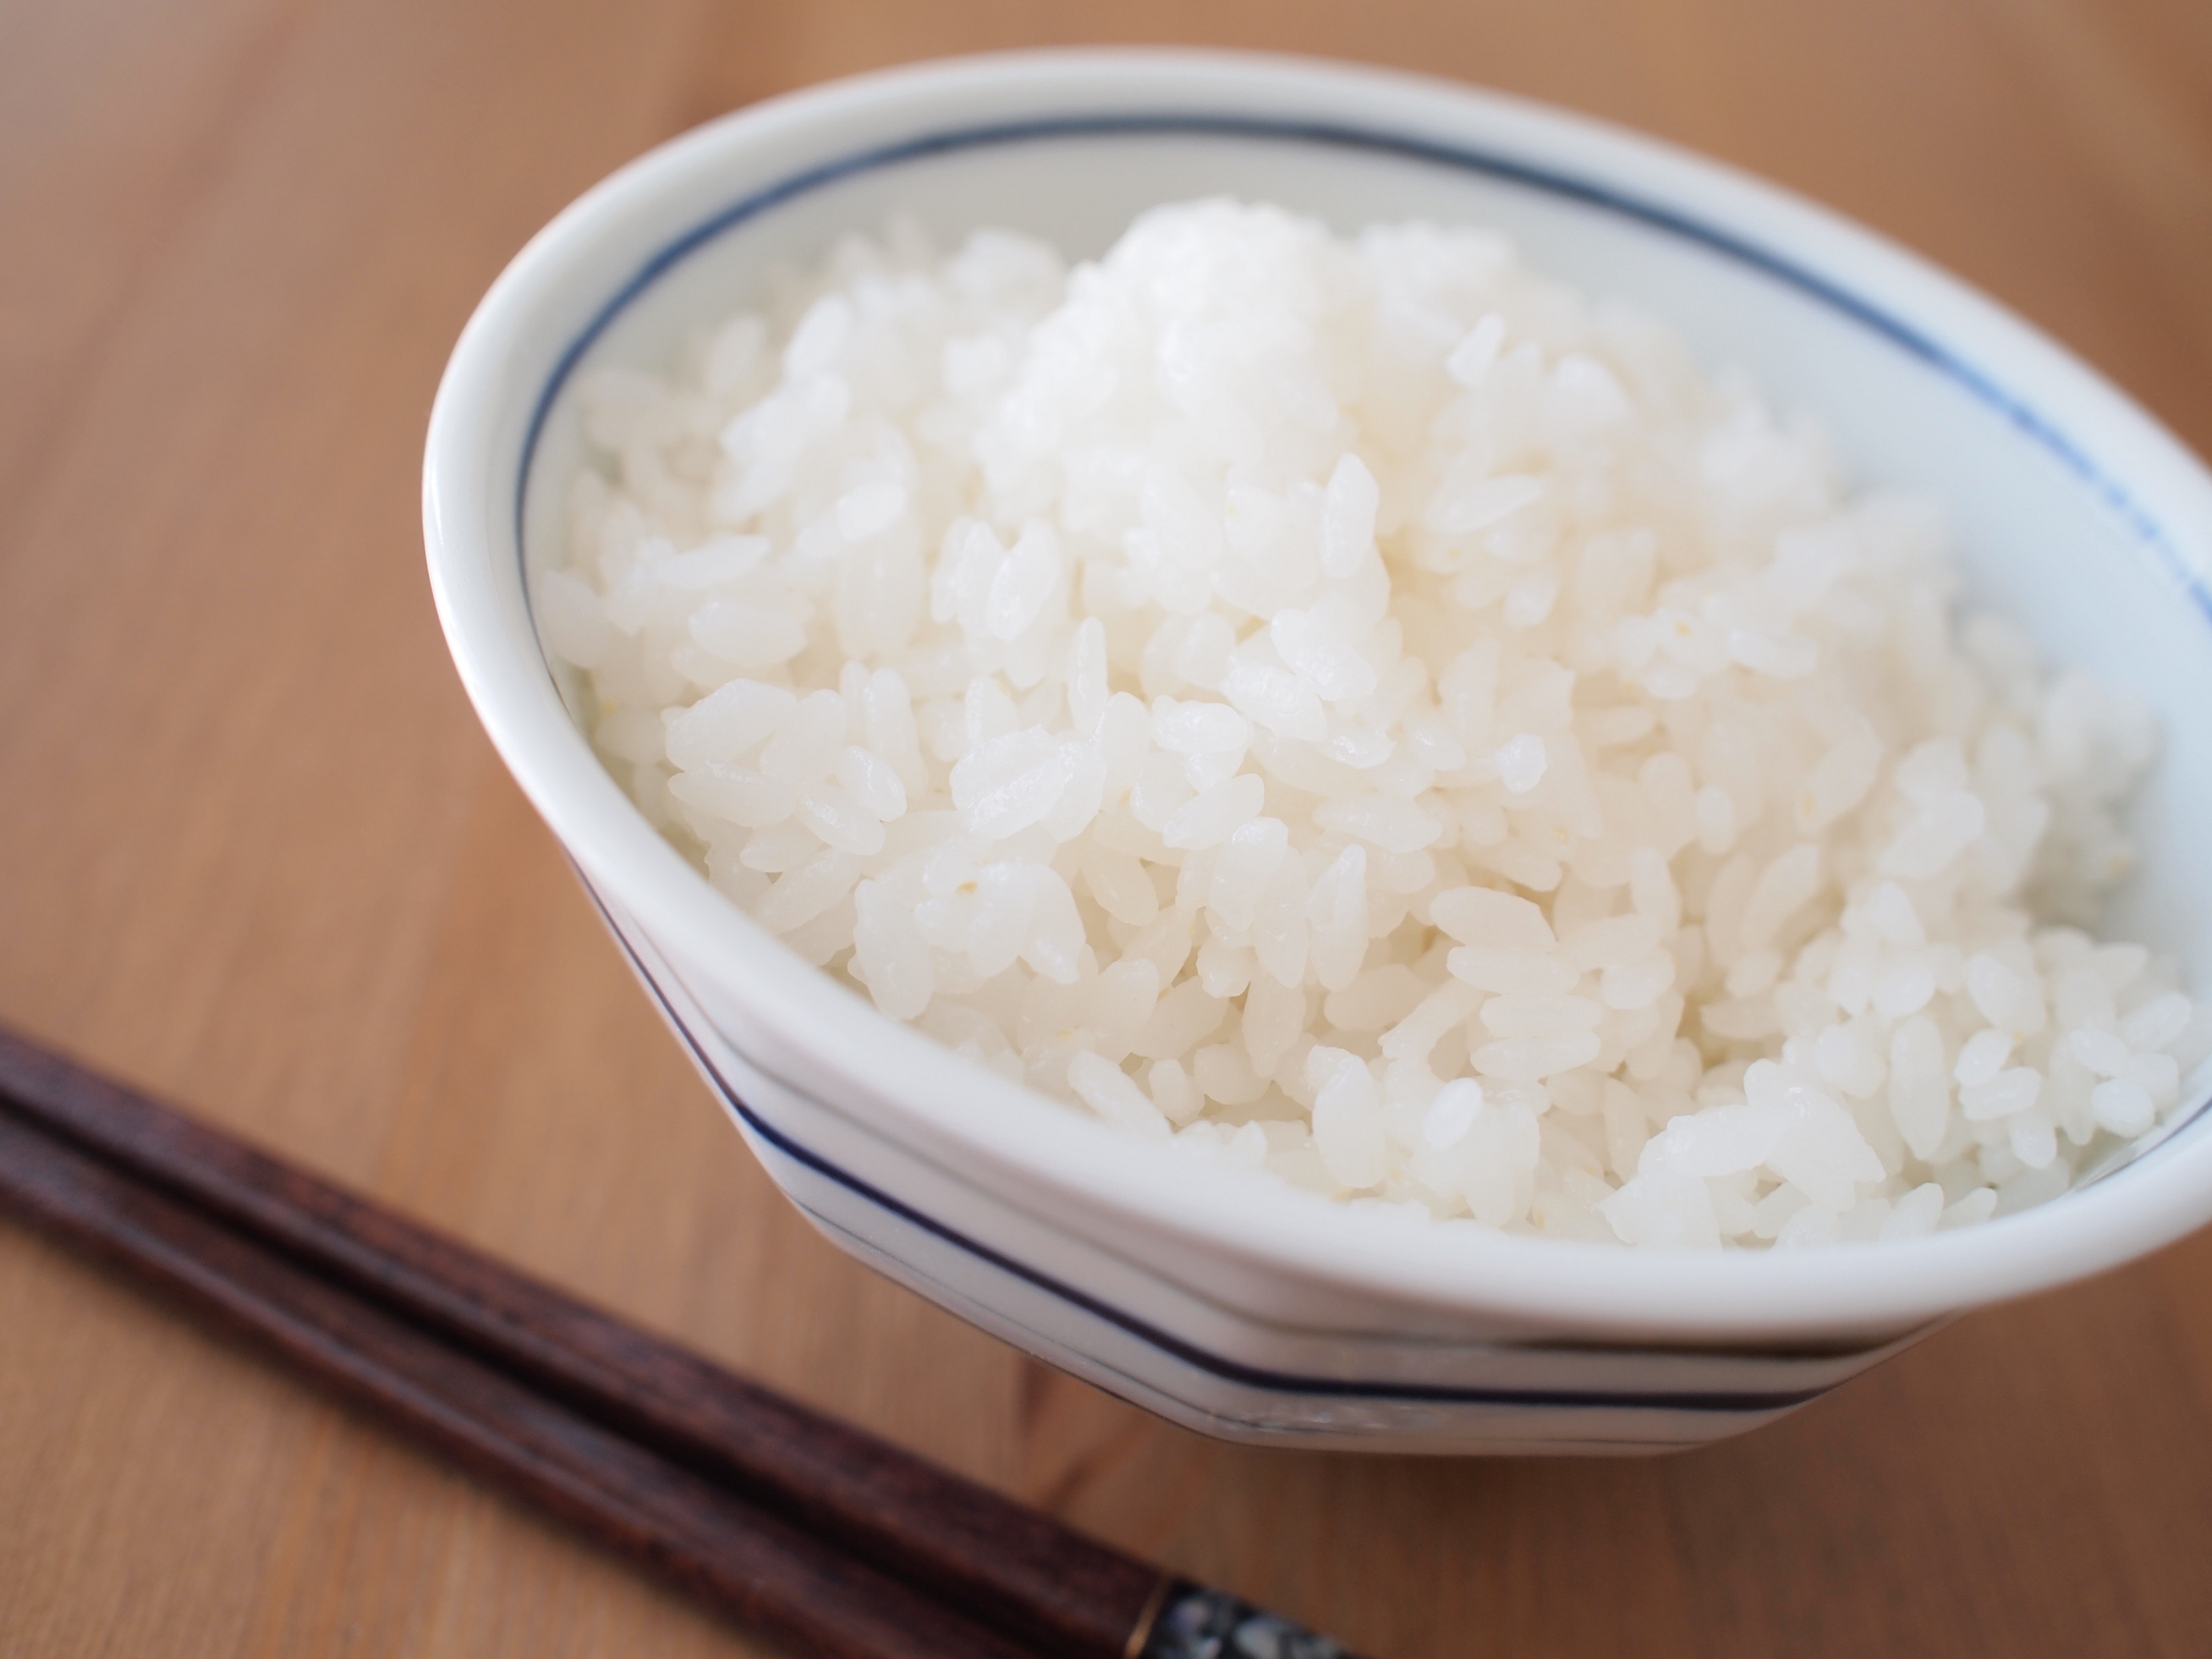
Preparing Japanese white rice
So what does one do as a husband of a Japanese wife but partake in the glory that is rice. Mostly white rice is what my wife makes on the gas stove in the traditional style of soaking and boiling. She does also make brown rice to mix things up. She always uses her Le Creuset Signature Enameled Cast-Iron 3-1/2-Quart to make the rice which takes around 45 mins from start to finish. This is actually her second Le Creuset pot as well since I destroyed the first one pretty horribly. I had accidentally turned on the stove on the back burner where the pot was at the time and there was nothing in it. Freshly cleaned and waiting to be put away is was mistakingly burnt to a crisp. Now it’s a planter, so there’s that. The other popular way to make rice is with an electric rice cooker
. This is the most hands off approach to making rice and probably the easiest to get a consistent batch each time.
Basic rice preparation is as follows:
- One cup of rice in the pot. You can use the same pot you are going to make the rice in or something else but basically you want to use just one cup rice. This will be more than enough for 2 people with some left over. You could probably get away with feeding 4 on this amount.
- Rinse the rice throughly! You’ll want to rinse the rice as it’s been sitting in a bag for a long time and gets dirty. Not only from foreign elements but also just because it’s been rubbing against itself creating a white film and dust. You’ll want to rinse at least 3 times using fresh water each time. My wife will typically keep the rinse water to later use for herself to wash her face, just the water and no soap. I saw her do this a few times and asked about it. She says this is common beauty practice in Japan to use the rinse water for your face. I have actually also started to use it when I see it on the countertop to use for my own face. I honestly have to say my face feels really great after using the rinse water. Naturally moisturized and soft.
- Soaking time. After the rice is rinsed, and you kept the rinse water for your beauty, you’ll want to add one cup of fresh water back into the pot and level out the rice on the bottom to make sure it’s fully covered in water. This is the soaking stage and obviously can’t be skipped. One thing to note, she said it typically takes longer in the winter time to soak. So soak for 20 minutes in the summer and 30 minutes in the winter.
- Boil and simmer. After the soak you’ll want to turn on the stove, of course, and start to boil the rice. This part is a bit tricky since you’ll have to keep an ear out for when you hear the boiling start. It’s VERY important to not remove the lid during this process because you want to retain as much water as possible in the pot. Start the boil, have a listen and reduce to a simmer for 12 minutes. Yes, for some reason she exacted the time to 12 minutes. I am not going to argue, I’m not Japanese.
- Do not open the lid. In case you missed it, DO NOT OPEN THE LID. I know it’s tempting, you want to know what’s going on in there. You want to see what your rice is doing, but don’t. Hmmm maybe a glass pot would also work?
- Almost done. After the boil and 12 minute simmer it’s time to turn off the heat and let it set. You’ll want to let it set for about 15 minutes to cool and calm down and relax. The rice just had a vigorous workout and it’s time to relax.
- Finally time to eat. Now you can enjoy the rice. Traditionally you’ll want to use a tool called a shamoji
to get the rice from the pot. You don’t want to fluff the rice out of the pot but rather cut it into chunks and serve it. The rice is sticky and fluffing will only ruin it’s presentation and purpose. This isn’t Uncle Bens!
Well there you have it from start to finish on how to make rice. At some point I’ll be talking about the health benefits of rice as well as the various types. One thing we love to do as a couple is eat. Since being married to her, I have enjoyed many different types of Japanese foods you won’t typically find in the states. Hey, go eat some rice!
